3D PUFF & FLAT DIGITIZING
Dawg Pound Graffiti Wordmark 3D Puff Digitizing at 19,900 Stitches
A hand-lettered graffiti wordmark splits between flat embroidery and raised 3D puff foam, and the artwork itself decides where that split falls. A 4.50 by 2.27 inch wordmark digitized with a flat black outline and a white detail pass locked down first, then a dedicated white 3D puff fill raising the main letterform body. Three stops and forty-four trims carry that sequence from outline to foam, an order that keeps the drip marks, crown points, and sparkle dots legible instead of disappearing under the puff pass.
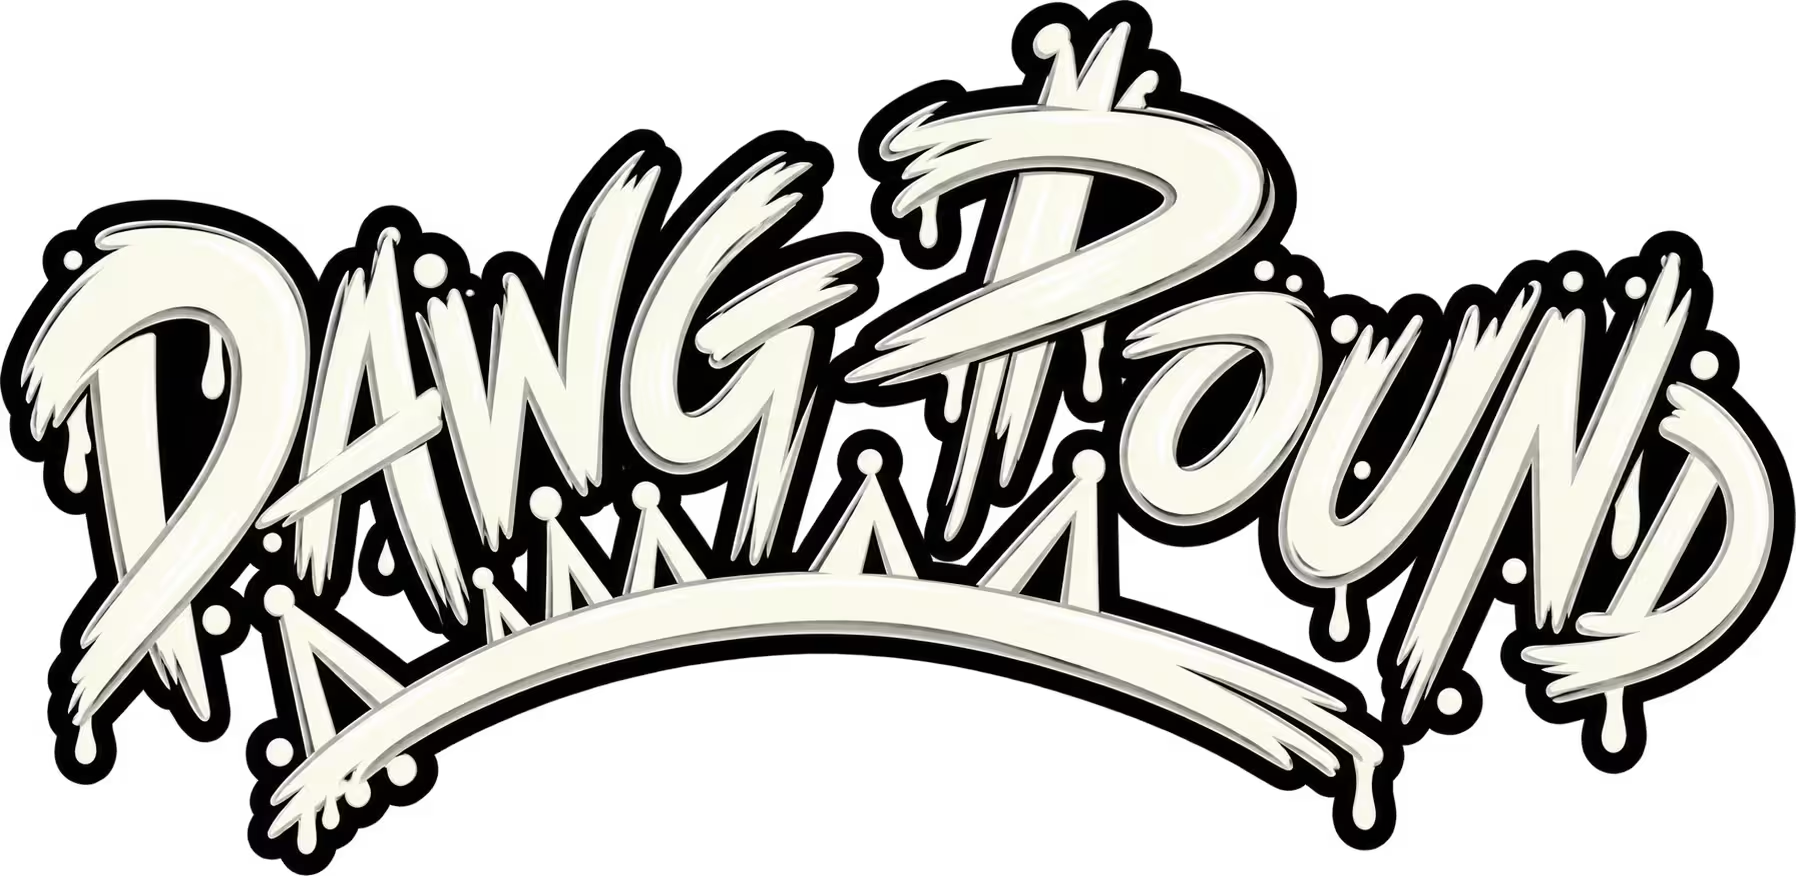
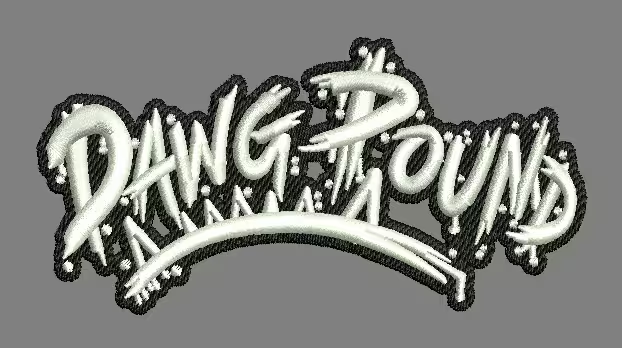
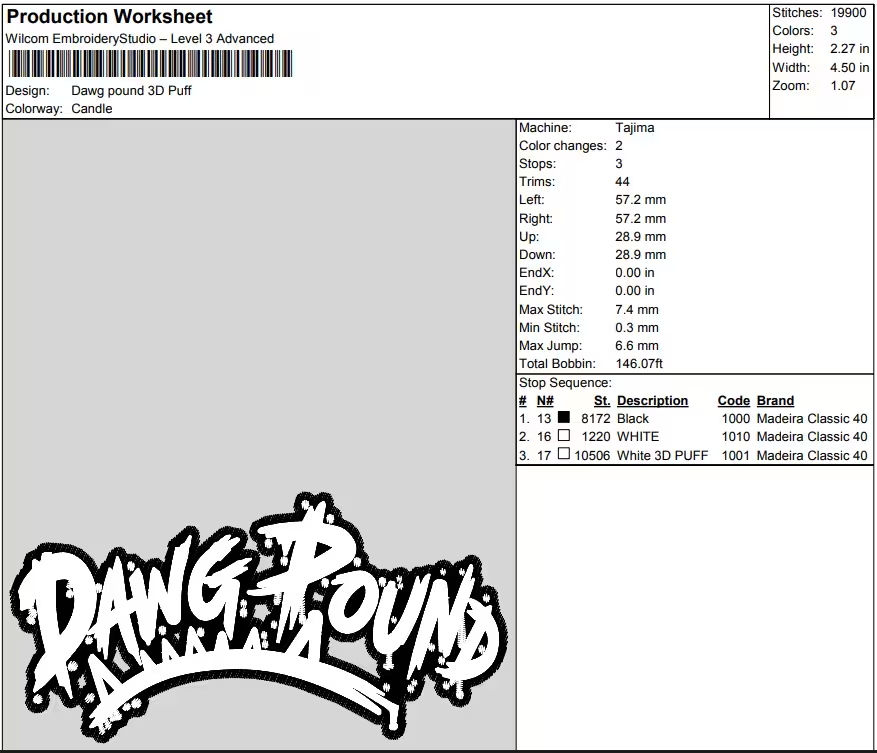
01 · Artwork receivedHand-lettered graffiti wordmark with drip details, crown accents, and sparkle dots. 02 · Digitized file previewRendered preview showing the flat black outline and the white puff fill before a single stitch runs. 03 · Production worksheetWilcom EmbroideryStudio, Level 3 Advanced: 19,900 stitches, 3 colors, 3 stops, Tajima format. 04 · Finished stitch-outThe black outline holds flat against the garment while the letterform body sits raised.
Where the puff stops and the flat outline starts
Puff foam is built for bold, simple shapes and works against anything delicate, so the split between flat and raised stitching follows the artwork’s own logic rather than an arbitrary line drawn across the design. The black outline and the fine detail, the drip marks, the sparkle dots, the thin crown points, get stitched flat and locked down first. Only the main letterform body runs on foam. Get that split wrong and the fine linework either disappears under the puff pass, or the piece never reads as dimensional at all.
Three stops holding the sequence together
The production worksheet runs a fixed three-stop order: a black outline pass first, a flat white detail pass second, then a dedicated white 3D puff pass last. That order isn’t optional. The outline and flat detail have to be finished and seated before the foam goes in, because once the puff fill runs it buries anything underneath it that hasn’t already been locked down. Run the puff pass earlier in the sequence and the fine graffiti linework never surfaces above the foam.
Forty-four trims on a four-inch wordmark
Color changes stay at two, but the file still carries forty-four trims, points where the machine cuts and re-anchors thread between design elements that aren’t physically adjacent. On a piece this size, that count comes from the drip and dot details rather than the lettering itself: each small decorative element needs its own stitch start and stop instead of running as one continuous path. The max stitch length sits at 7.4 mm, shorter than a pure puff piece would typically use, because the puff sections here still have to resolve into narrow letterforms rather than one broad shape.
Specs
- Techniques
- Flat outline + 3D puff fill
- Finished size
- 4.50″ × 2.27″
- Stitch count
- 19,900
- Colors / stops
- 3 / 3
- Color changes
- 2
- Trims
- 44
- Max / min stitch length
- 7.4 mm / 0.3 mm
- Bobbin thread
- 146.07 ft
- Thread
- Madeira Classic 40: black, white, white 3D puff
- Format delivered
- Tajima (DST)
- Software
- Wilcom EmbroideryStudio, Level 3 Advanced
- Pricing tier
- Standard ($15)
- Turnaround band
- Rush (1-2 hour)
- Digitized by
- Sean Bergeron
The full worksheet
Every number above traces back to this one production sheet: stop sequence, thread codes, and machine settings Wilcom EmbroideryStudio generated for the three-stop, three-color build.